How to make a quick and easy Christmas card.
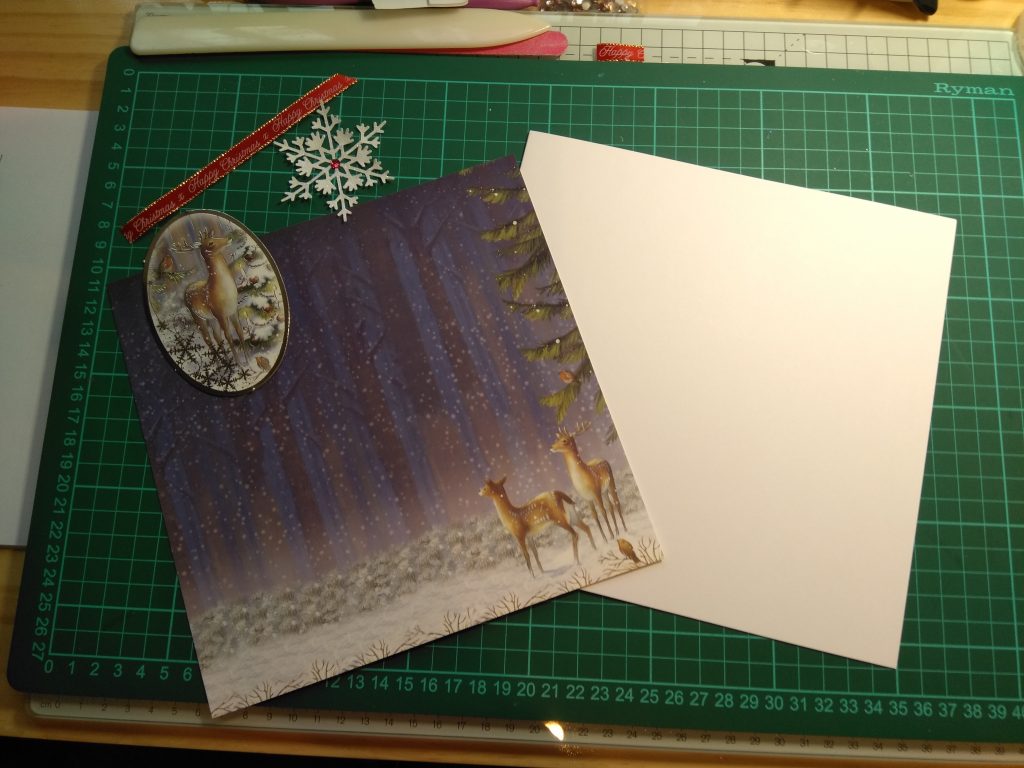
Step 1: Take a 8″ x 8″ folded card or a card size of your choice, then pick a matching design of papers and embellishments. I have chosen 1 matching topper, 1 hand glittered snow flake and a ribbon that says Merry Christmas.
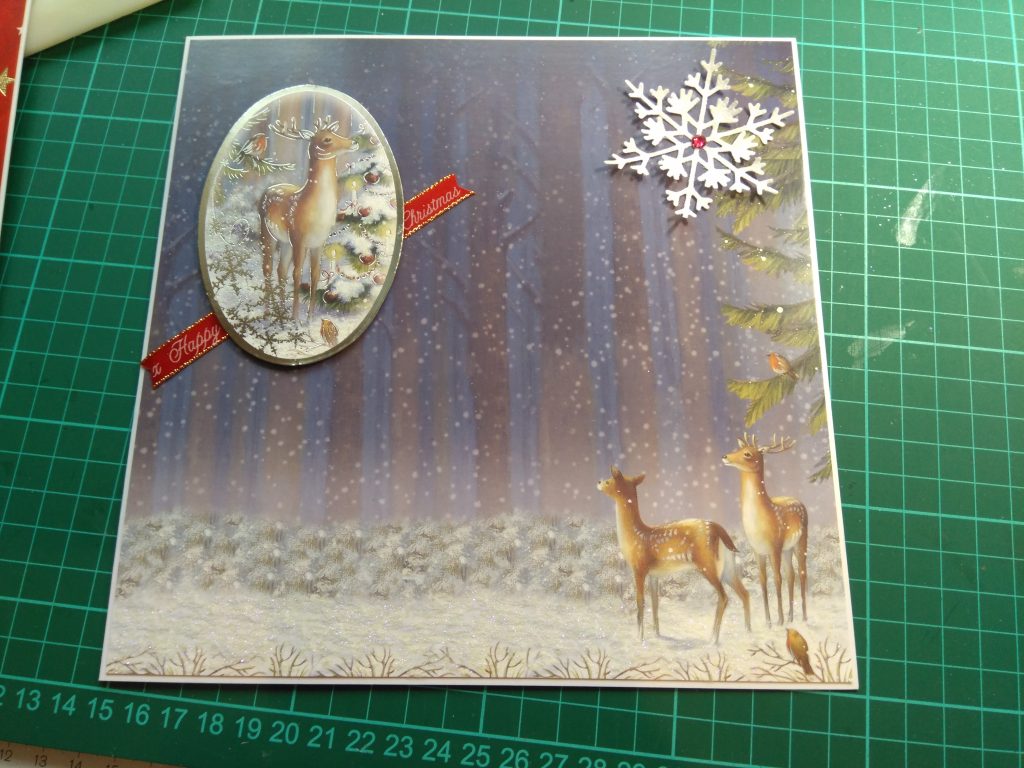
Step 2: Cut your chosen design to fit the card, I have cut this deer 7 & 3/4″ by 7 & 3/4″ square, then carefully glue it in place, glue the topper in place then the snow flake. I have slid the ribbon under the topper but you can do it as a bow. I have also glued a red diamante to the snow flake. Now you can add a Mum and Dad etc.
Step 3: Now you can add an insert of your choice, or have it blank but definitely have a pretty paper of some description. Cut your chosen size i.e. of square paper and glue it in place, usually the centre. The best thing about hand made is it’s all your choice from start to finish.
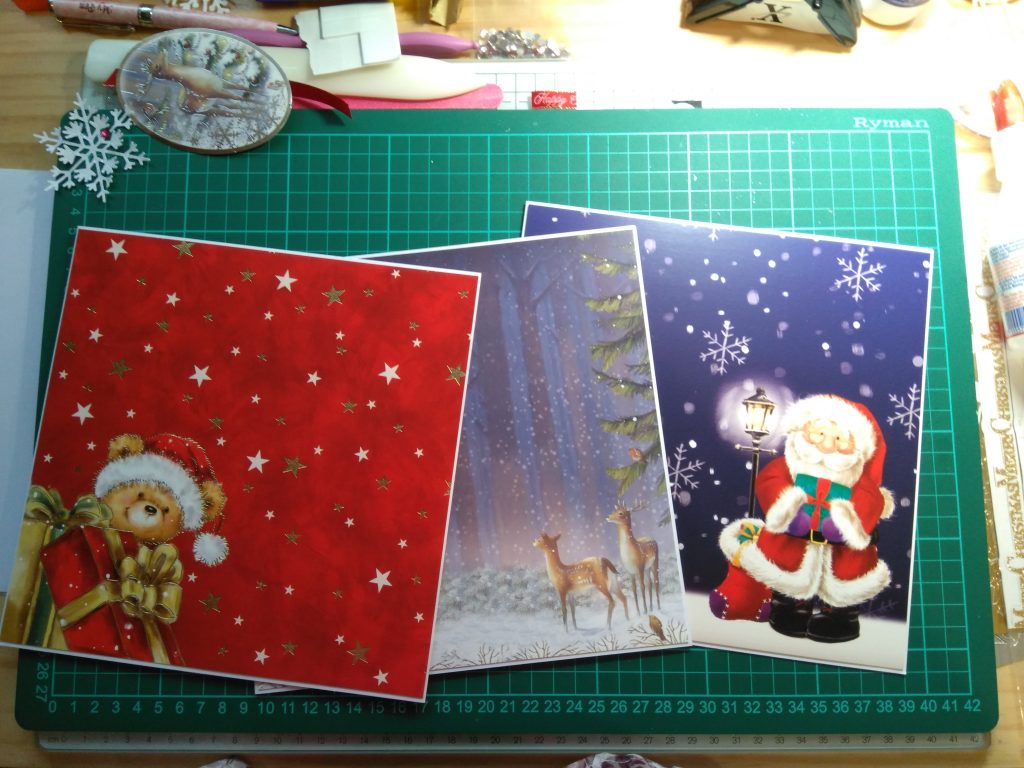
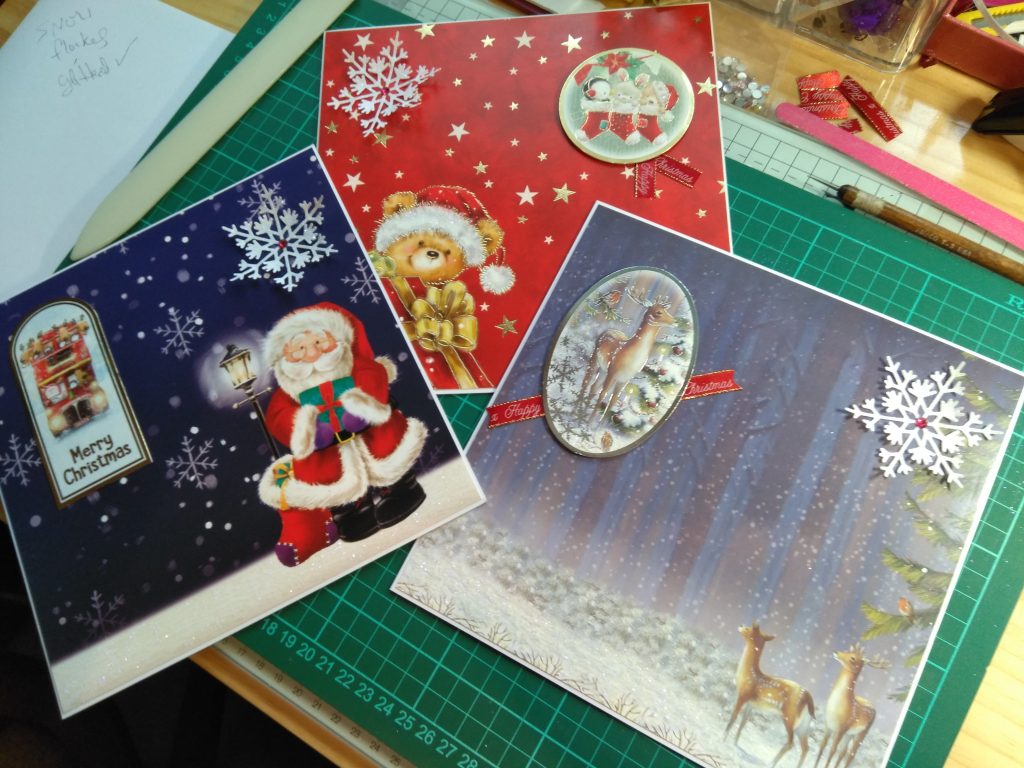
Top Tip: you could lay 2 or 3 cards out together and make them all at the same time. As you can see I have made 3 cards using the same technique. This in the long run saves time, this is how I do lots of my card projects, so much easier, especially Christmas cards. ( I no longer have these 3 cards ). Packs are easy to make this way, just make them smaller.
Baby Blue for the Snow Flakes and Personalised Fonts, also showing gems, ribbons and fonts.
